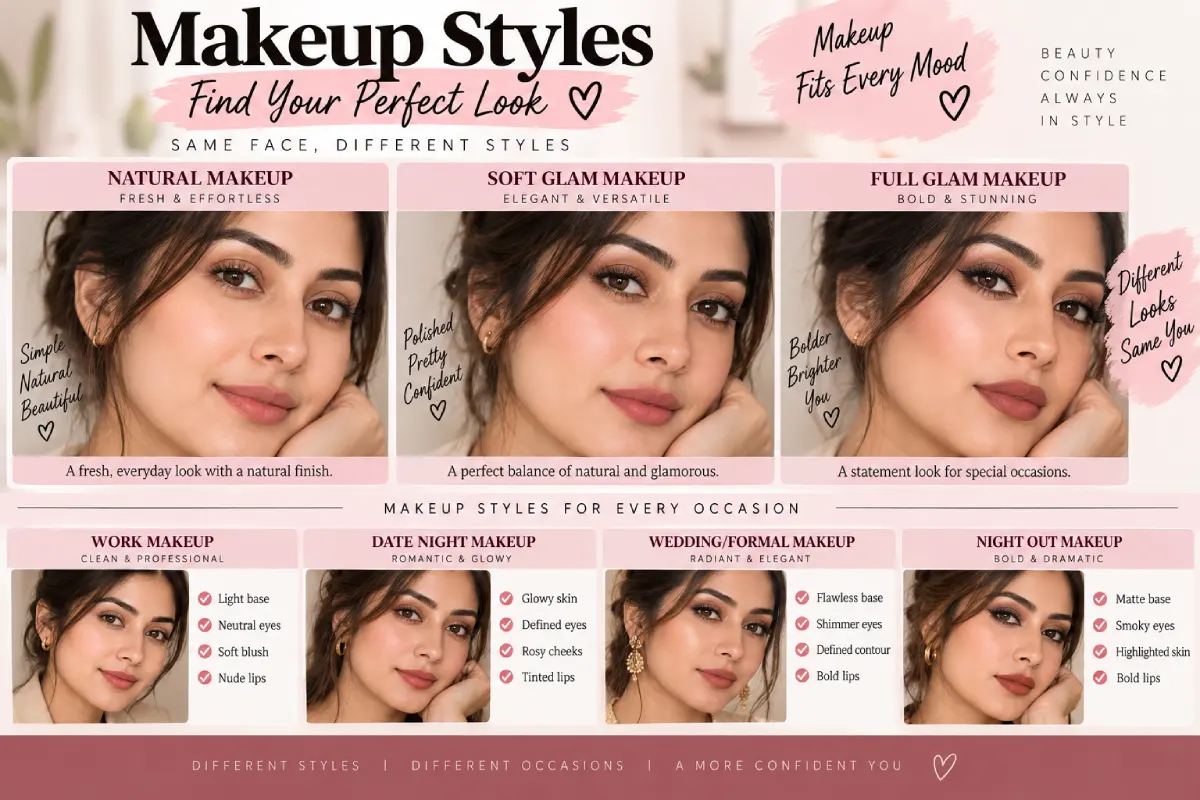
Natural Makeup Look: Easy Step-by-Step Tutorial
Published: September 15, 2026 Last Updated: September 15, 2026 A natural makeup look is meant to enhance your features
A natural makeup look is meant to enhance your features without anyone clocking that you’re wearing makeup at all. That sounds simple, but it’s actually one of the harder looks to get right — too much product in the wrong place, and “natural” starts looking like “trying.” This tutorial breaks down exactly how to build that soft, your-skin-but-better finish, step by step.
What Do You Need for a Natural Makeup Look?
You need fewer products than you might think, but the formulas matter more here than in a full-glam look. A natural look generally works best with:
- A lightweight moisturizer suited to your skin type
- A tinted moisturizer, BB cream, or sheer-to-medium coverage foundation
- A cream or liquid concealer (not a heavy, full-coverage stick)
- A cream or powder blush in a soft, skin-appropriate tone
- A neutral eyeshadow in one or two shades
- Mascara
- A tinted lip balm or sheer lipstick
Cream and liquid formulas blend into skin more seamlessly than heavier powders, which is why they show up consistently in natural-look routines. If you’re still assembling your kit, the [Makeup Essentials guide]([VERIFY LIVE URL]) covers what’s genuinely worth owning.
How to Prep Your Skin for Natural-Looking Makeup
Skin prep matters more for a natural look than for almost any other style, because there’s very little product on top to hide texture or dryness.
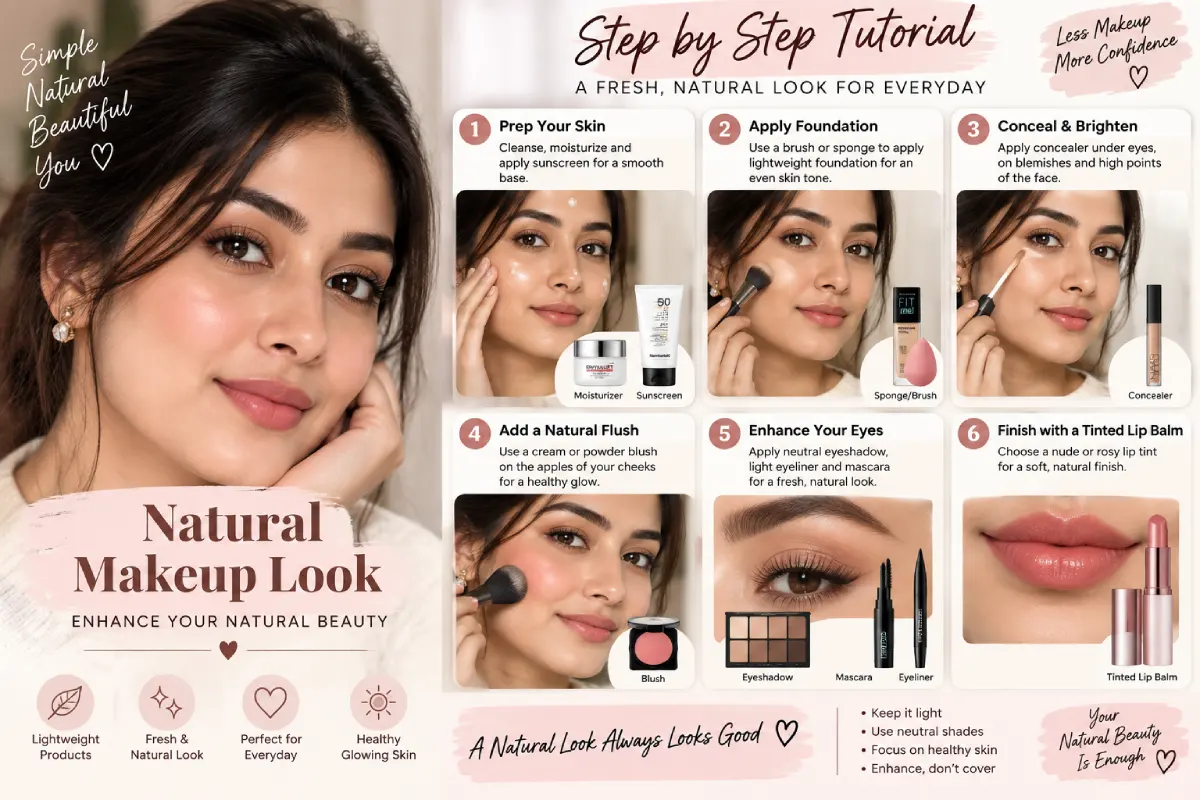
- Cleanse to remove oil and buildup from your skin.
- Moisturize thoroughly — a natural look relies on hydrated, smooth-looking skin underneath, so don’t skip or rush this step.
- Wait a few minutes before applying anything else so the moisturizer can fully absorb; makeup applied over unabsorbed moisturizer is a common cause of a patchy base.
- Apply a lightweight primer only if you have visibly enlarged pores or oily areas to soften — for a natural look, primer is optional rather than essential.
If you’re in a humid or hot climate, lean toward a gel-based or oil-free moisturizer so your base doesn’t slide by midday.
How to Create a Natural Makeup Base Without Looking Cakey
This is where most natural-look attempts go wrong: applying foundation the way you would for full coverage, then wondering why it doesn’t look natural.
Direct answer: Use a sheer-to-medium coverage formula, apply it only where you need it, and blend with a damp sponge rather than a brush.
Here’s the practical version:
- Start with a small amount — less than you think you need. You can always add more to specific spots.
- Apply with a damp makeup sponge, pressing rather than dragging, so the product sits into skin instead of sitting on top of it.
- Skip full-face concealer. Use it only under the eyes or directly on blemishes, blended out at the edges so there’s no visible line.
- Set only the areas that get oily during the day (usually the T-zone), using a very light dusting of translucent powder. Skip powder entirely on drier areas so skin still looks like skin.
Common mistake: Applying foundation with a brush in circular motions all over the face. This tends to leave a more visible, “painted-on” finish, which works against the entire point of a natural look. A sponge, used in light pressing motions, gives a more skin-like result.
How to Apply Natural Eye, Cheek, and Lip Makeup
Once the base is done, color goes on in small amounts, blended well past the edges.
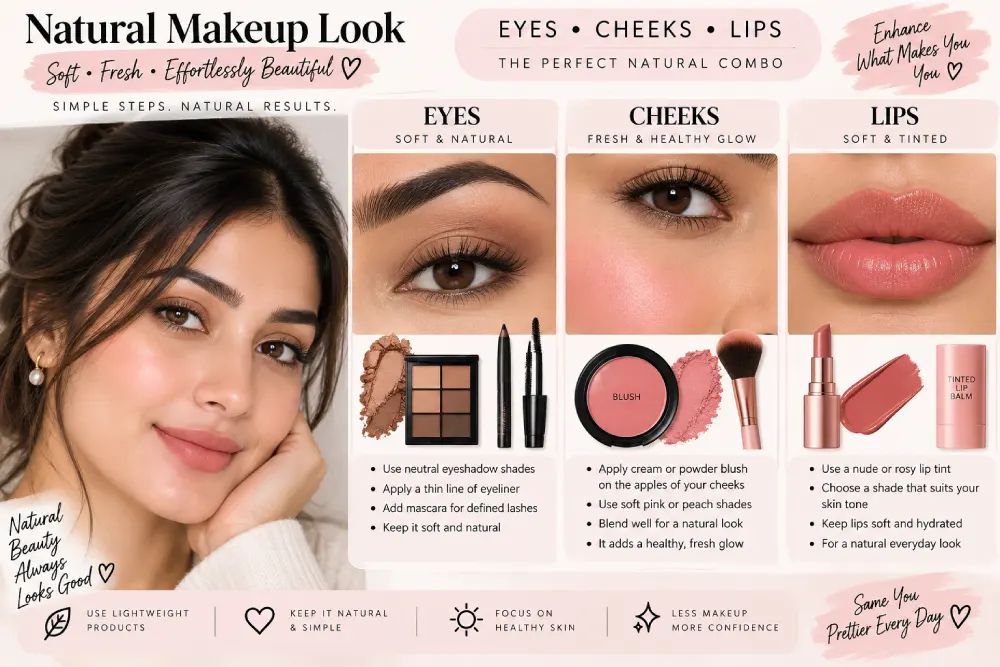
Eyes: Sweep one neutral, matte shade (a soft brown or taupe works on most skin tones) across the lid and slightly into the crease. Skip eyeliner, or use a thin brown line rather than black if you want slight definition. Finish with one coat of mascara, focusing on the roots of the lashes rather than loading the tips.
Cheeks: Cream blush, applied with fingertips to the apples of the cheeks and blended upward and outward, gives the most natural-looking flush. Powder blush works too, but a cream formula tends to sit closer to skin and read as less obviously “applied.”
Lips: A tinted balm or sheer lipstick close to your natural lip color finishes the look without adding a strong focal point. If you want slightly more color, choose a shade only one or two tones deeper than your actual lip tone.
Practical example: For fair to medium skin tones, a warm taupe eyeshadow, peachy-pink cream blush, and rosy-nude lip balm work well together. For deeper skin tones, a warm bronze eyeshadow, berry or terracotta cream blush, and brown-nude lip balm create the same soft effect.
How to Make a Natural Makeup Look Last All Day
Direct answer: Set only your oil-prone areas, avoid layering too many products, and carry one product for touch-ups rather than reapplying the whole look.
A few specifics:
- Lightly powder the T-zone once in the morning, and again midday if needed — over-powdering the rest of the face will start to look heavier as the day goes on.
- A setting spray helps hold everything in place, especially in humid weather, without adding visible product.
- For touch-ups, blotting papers plus a small amount of cream blush refresh a natural look faster than reapplying foundation. If skin gets oily by afternoon, oil-absorbing sheets work better than piling on more powder.
Common Mistakes That Ruin a Natural Look
| Mistake | Why It Happens | Fix |
|---|---|---|
| Using full-coverage foundation | Assuming “natural” still needs even, complete coverage | Switch to a sheer-to-medium formula and apply only where needed |
| Applying too much powder | Trying to prevent shine everywhere at once | Powder only the T-zone; let other areas stay dewy |
| Heavy contour under a “natural” label | Copying full-glam contour techniques at a lighter intensity | Skip contour, or use only a touch of bronzer for warmth |
| Black eyeliner and false lashes | Treating “natural eyes” as still needing definition | Use brown liner or skip it; one coat of mascara is usually enough |
| Skipping skin prep | Assuming makeup alone creates the finish | Prioritize moisturized, well-prepped skin before any product goes on |
Frequently Asked Questions
What is a natural makeup look, exactly? It’s a makeup style that uses lightweight, well-blended products to enhance your features while still looking like your own skin — the goal is that people notice you look good, not that you’re wearing makeup.
Do I need a full skincare routine before a natural makeup look? You don’t need an elaborate routine, but cleansing and moisturizing beforehand makes a real difference, since a natural look relies on smooth, hydrated-looking skin underneath a thin layer of product.
Can I do a natural makeup look if I have oily skin? Yes — lean toward oil-free or gel-based moisturizer, use a lightweight foundation, and set only the T-zone with a light dusting of powder rather than powdering your whole face.
How is a natural look different from “no-makeup makeup”? They’re closely related terms often used interchangeably. Both describe minimal, well-blended makeup that reads as enhanced skin rather than an obvious look.
Why does my natural makeup look cakey by the afternoon? This is usually caused by using too much product initially, over-powdering, or skipping proper skin prep — all three cause makeup to sit on top of skin rather than blending into it, which becomes more visible as the day goes on.
Final Word
A natural makeup look isn’t about doing less effort — it’s about applying the right amount of product, in the right formula, blended in the right way. Once you get comfortable with thinner layers and a damp sponge, this becomes one of the fastest, most repeatable looks in your routine. For the full step-by-step order this technique builds on, or to explore other styles once you’ve got this one down, head back to the complete [Makeup Tutorial guide]([VERIFY LIVE URL]).